How to Create a Stunning Faux Finish: A Step-by-Step Guide
Introduction to Faux Finishes
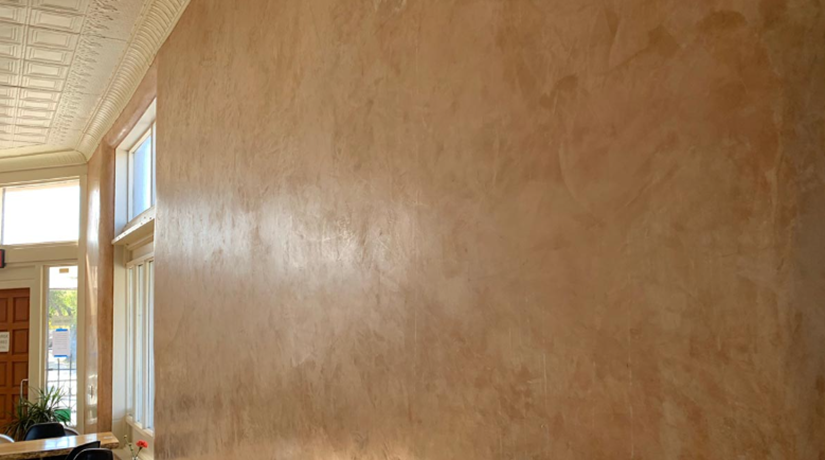
Creating a faux finish can transform a room. It adds texture and depth. Faux finishes mimic other materials. These can include marble, wood, and stone. It’s a creative way to enhance decor.
Gather Your Supplies
First, gather your supplies. You’ll need paint and glaze. Brushes, sponges, and rags are essential. Painter’s tape is also necessary. Drop cloths protect your floors.
Choose Your Technique
There are many faux finish techniques. Sponging is popular and easy. Rag rolling creates a unique texture. Color washing gives a soft look. Marbling mimics stone surfaces.
Prepare the Surface
First of all, prepare the surface. Clean the walls carefully. Remove dust and stain and fill all the holes or cracks on the wall. Sand the surface for smoothness. After that apply a primer coat for best results.
Base Coat Application
Put on the base coat first which is your foundation color. Use a roller for uniform exposure. Let it for some time to dry completely. This step is central for success.
Mixing the Glaze
Next, mix your glaze. Combine paint and glaze medium. Follow the manufacturer’s instructions. The ratio affects transparency. Test on a sample board first.
Sponging Technique
For sponging, use a sea sponge. Dip it in the glaze. Dab off excess glaze. Lightly press onto the wall. Rotate the sponge for variety. Continue until the surface is covered.
Rag Rolling Technique
Rag rolling requires a lint-free rag. Dip it in the glaze. Twist the rag into a cylinder. Roll it over the wall. This creates a unique texture. Practice on a sample board.
Color Washing Technique
Color washing uses a brush. Dip it in the glaze. Apply in a crisscross pattern. Use a dry brush to blend. This softens the look. Repeat until satisfied.
Marbling Technique
Marbling mimics stone. Use a small brush. Apply veins of darker paint. Blend with a feather or brush. Add highlights for realism. Practice makes perfect.
Blending and Softening
Blend and soften the finish. Use a dry brush or rag. Lightly go over the surface. This removes harsh lines. It creates a more natural look.
Layering Techniques
Layering adds depth. Apply multiple layers of glaze. Each layer should dry completely. Use different colors for complexity. This enhances the effect.
Adding Highlights and Shadows
Highlights and shadows add realism. Use lighter and darker shades. Apply sparingly with a small brush. Blend for a subtle effect. This step adds dimension.
Final Touches
Check for missed spots. Touch up as needed. Ensure even coverage. The finish should look seamless. Take your time with final touches.
Sealing the Finish
Sealing is optional but recommended. Use a clear sealant. It protects the finish. Apply with a clean brush. Let it dry completely. This step enhances durability.
Clean Up
Clean your tools immediately. Use soap and water for latex paint. Mineral spirits for oil-based paint. Proper cleanup prolongs tool life. Dispose of materials safely.
Practice and Patience
Faux finishing requires practice. Don’t rush the process. Take your time. Practice on sample boards first. Patience yields better results.
Enjoy Your New Look
Step back and respect your work. You’ve made a faux finish. It adds character and tastefulness. Enjoy your transformed work.
Conclusion
Faux finish is a reward taking work. It involves in right tools and technique. Preparation and patience are the key factors. Practice makes a man perfect. Enjoy your beautifully finished work.