How to Give Hardwood Floor a Fresh New Look
Refinishing hardwood floor can revive your home’s beauty. It’s a rewarding DIY project. You can save money and enjoy stunning results. Follow these steps to refinish hardwood floors easily.

Step 1: Gather Your Supplies
You will need a few important tools. Gather sandpaper, a floor sander, and a vacuum. You will also need a floor buffer and a mop. Do not overlook the wood stain and polyurethane finish. These are essential for a DIY refurbishing project. Gloves and a mask are also essential pieces of safety equipment.

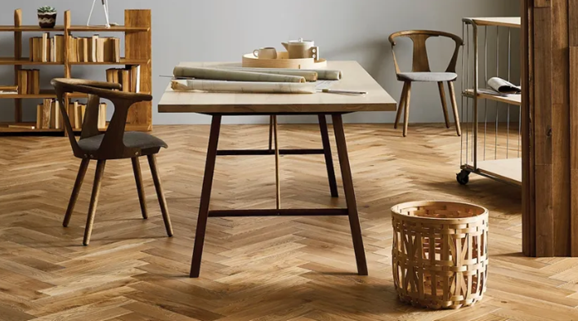
Step 2: Clear the Room with Hardwood Floor
Remove all furniture from the room. Make sure the floor is bare. This prepares the area to refinish hardwood floors effectively. Take down any wall decorations too. You want to avoid dust sticking to them.

Step 3: Clean the Hardwood Floors Thoroughly
Thoroughly clean the floor to remove all dust. You can use vacuum cleaner for deep cleaning. Cleaning will ensure a smooth finish. It is one of the most important steps in DIY project. You should make sure about hidden trash in corners and edges.
Step 4: Sand the Hardwood Floors
Use a drum sander to sand the floor. Start with coarse grit sandpaper. Move the sander along the grain of the wood. Sanding removes the old finish. This is a critical part of how to refinish hardwood floors. Change to finer grit paper as you go. Sand the entire floor evenly.

Step 5: Sand the Edges of hardwood floors
The sander can’t reach the edges of the room. Use an edge sander for these areas. This completes the sanding step. It’s crucial for a flawless DIY finish. Be careful around the baseboards to avoid damage.

Step 6: Vacuum and Mop the Hardwood Floors
Once sanding is complete, vacuum the floor again. Remove all dust and debris. This ensures the stain will apply smoothly. Mop the floor with a damp cloth to pick up any remaining dust. Allow it to dry fully.

Step 7: Apply Wood Stain on Hardwood Floors
Choose a stain that complements your home. Use a brush or cloth to apply the stain. Work in sections for an even coat. This is where the floor gets its color. Staining is a key part of a DIY project to refinish hardwood floors. Allow the stain to dry completely.

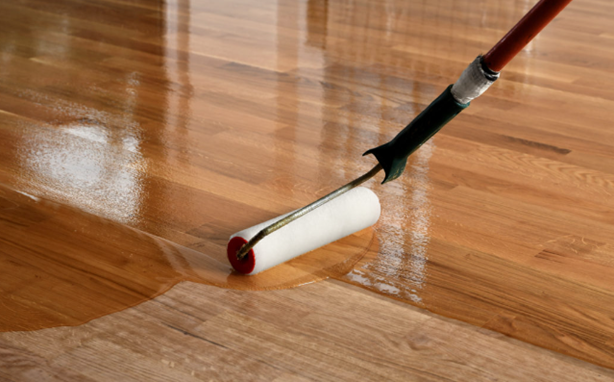
Step 8: Apply Polyurethane Finish on Hardwood Floors
Once the stain has dried, it is time to apply the finish. Polyurethane protects the flooring from harm. Use a roller or brush to apply it. This gives the floor a shiny, long-lasting surface. Use at least two coats. Between applications, sand softly with fine sandpaper. This ensures a smooth and equal finish.
Step 9: Let the Floor Cure Hardwood Floors
After applying the last coat, allow the floor to cure. This may take up to three days. Avoid stepping on the floor at this time. It is necessary for the floor to harden correctly. Your DIY project will end with a professional-looking finish.
Step 10: Clean Up and Replace Furniture
Once the floor is cured, clean the room. Wipe down any remaining dust. Then replace the furniture carefully. Use felt pads on the furniture legs to avoid scratches. Now, you’ve successfully completed a DIY project to refinish hardwood-floors.
Refinishing hardwood floor is a manageable DIY project. It requires patience and attention to detail. By following these steps, you can achieve professional results. You’ll restore the beauty of your floors and increase the value of your home.